CHOCOLATE BALLOON BOWLS WITH SPRINKLES! BY PHOODIE 0
June 8, 2016
I have been meaning to make these for probably close to 10 years!
Actually, wait…. if I think about it… gee, it’s much closer to 20!
In the year 2000 I was living in California attending university, and at one of the ‘Welcome the kids from overseas’ get togethers a girl named Erica made these for us!
At the time I remember thinking they were so awesome and that I would try them when I arrived home…
So, now, 16 years later!!! and after many sightings of this item on Pinterest I finally decided it was my turn to give them a crack!
Whilst they are a litttttttle bit trickier than they look, if you follow my handy tips throughout the recipe below, you’ll kill it!
And, the popping part was nowhere NEAR as bad as I thought it would be :) (I am semi balloon-phobic after one of my friends Dads popped a balloon in my ear aged 10!)
INGREDIENTS
6 balloons
500g white chocolate melted
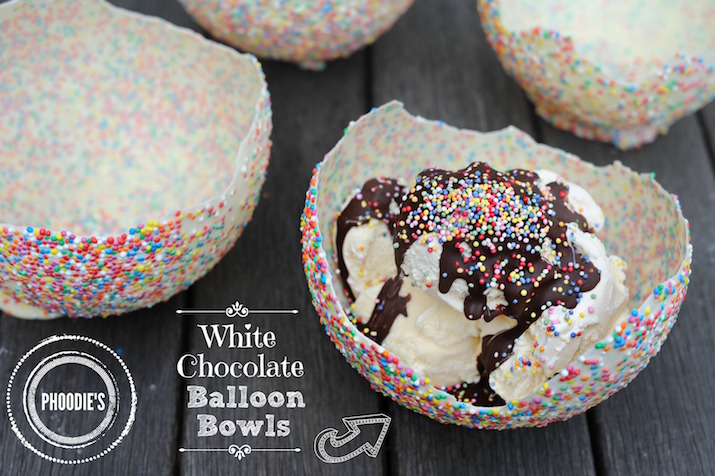
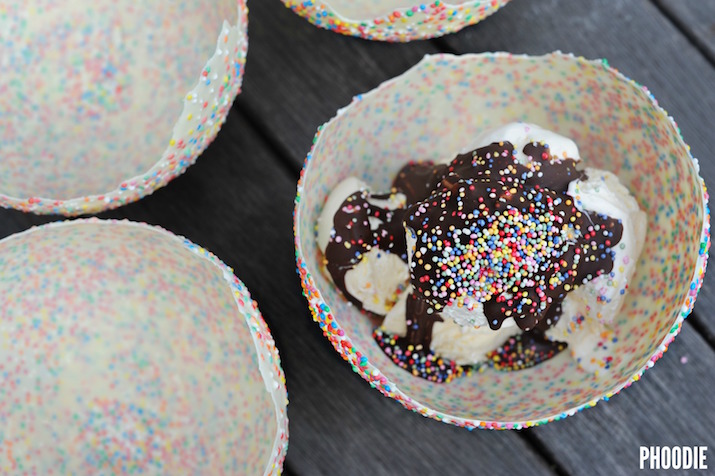
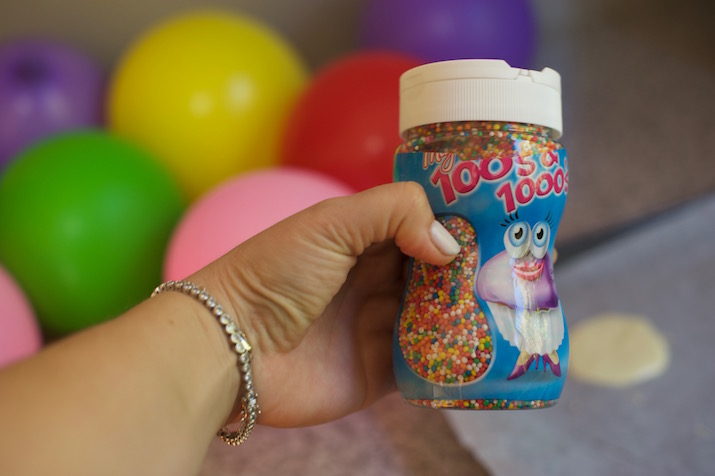
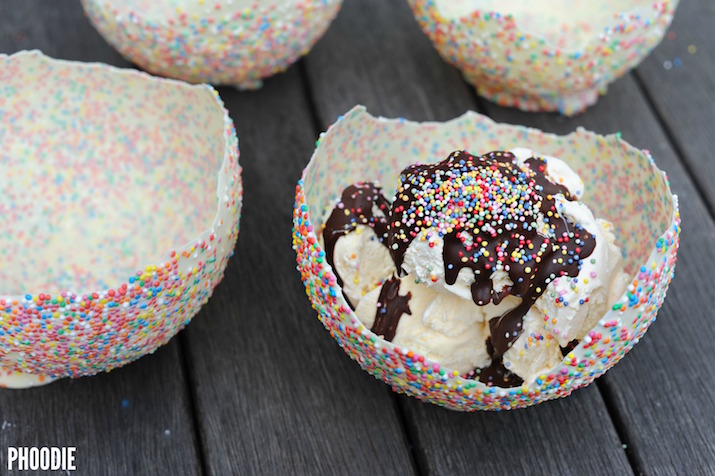
HEAPPPPPPPS of sprinkles – I used a whole 350g jar! That said…. I ‘wasted’ a bit of that! (You could also use chopped nuts or coconut etc!)
WHATEVER you want to fill the bowls with – I used creamy vanilla ice cream, Ice Magic topping and more sprinkles! Old school style! But fruit salad and yoghurt also works really well as do lollies and candy bars for birthday parties!
METHOD
**Line a couple of baking trays with non-stick baking paper and set aside**
1) Rinse (the outside only) and dry the balloons.
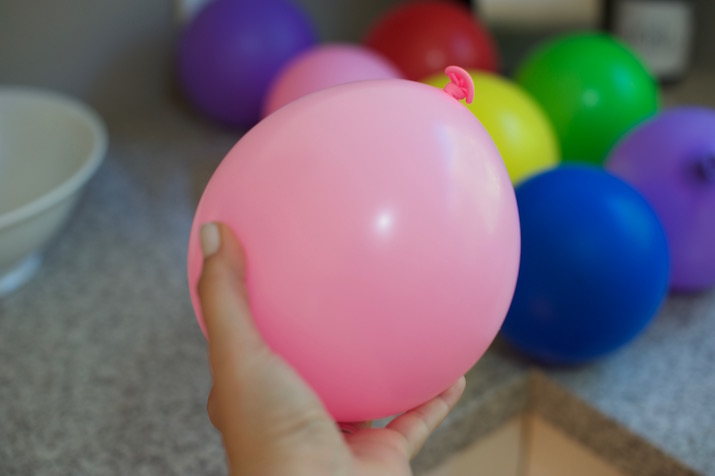
2) Blow up the balloons to whatever size you want your bowls to be, I blew them up to large grapefruit size.
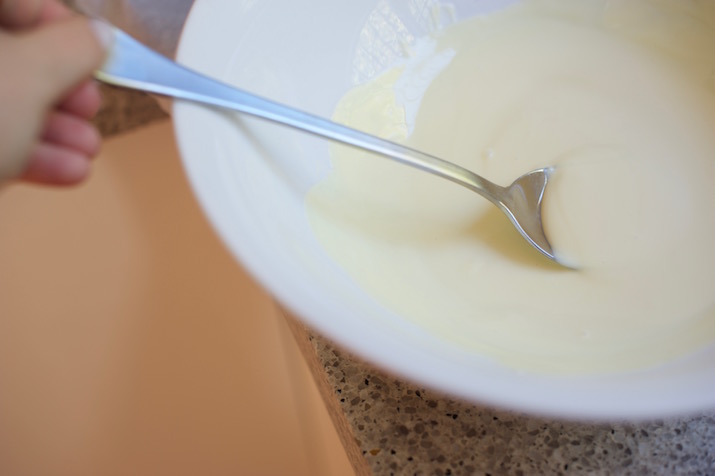
3) Melt your white chocolate (either in bursts in the microwave or over a double boiler) a bit at a time. I divided the chocolate into 3 portions and melted enough for 2 balloons at a time.
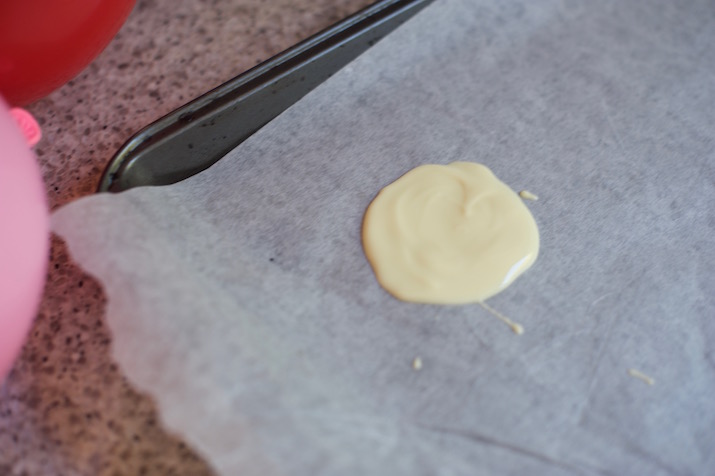
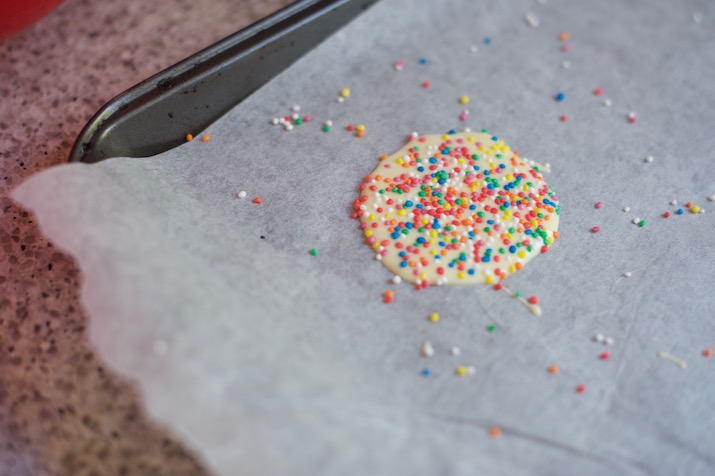
4) ALLOW THE CHOCOLATE TO COOL SLIGHTLY so that your balloons don’t pop when dipped! Whilst you are waiting for it to cool make the bases for the bowls by using a heaped tablespoon or 2 of the chocolate, and creating discs on your baking paper lined trays. Top generously with sprinkles.
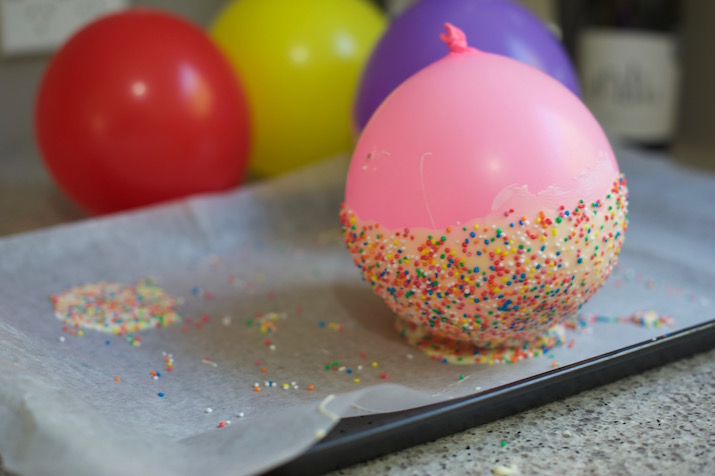
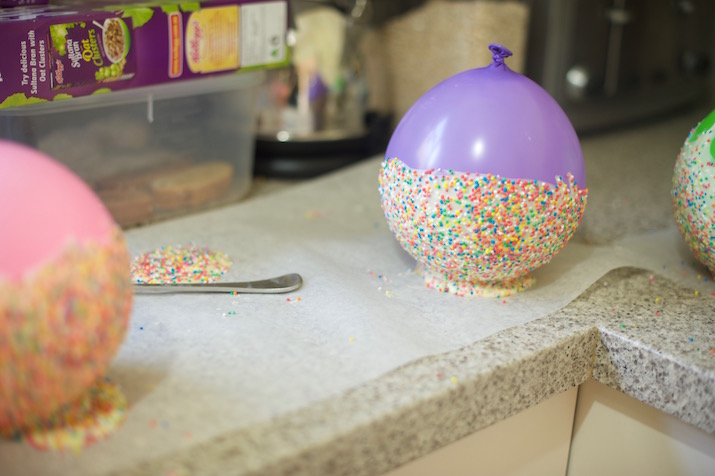
5) Once the chocolate has cooled a bit, (I only let it cool for a couple of mins) dip the balloons, one at a time, into the chocolate. I found the easiest way to do this and get an even coverage, was to dip them in on their side first and then roll for 360 degrees to make sure all sides are covered. After this, I did another dip in, base first to make sure that it also had a good even chocolate coverage. Once each balloon is covered in a thick layer of white chocolate, hold them over the sink and sprinkle until you can sprinkle no more. Then place each balloon on a preprepared base, holding for a few seconds to make sure it’s connected to the disc base below.
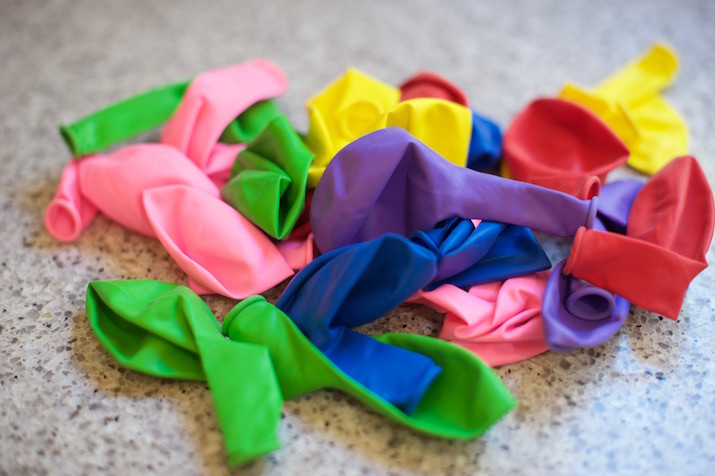
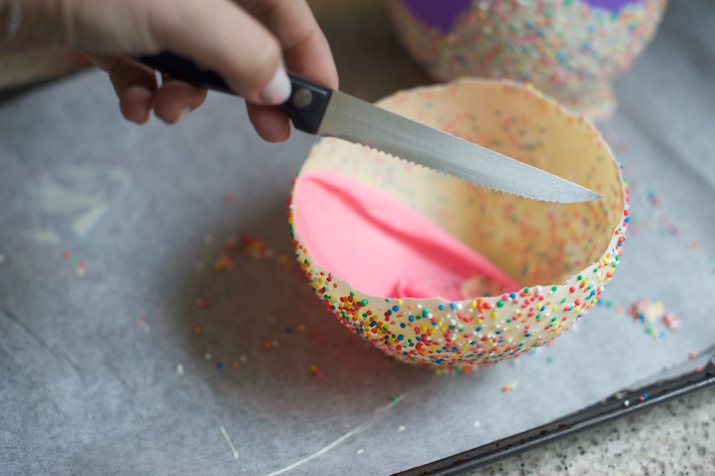
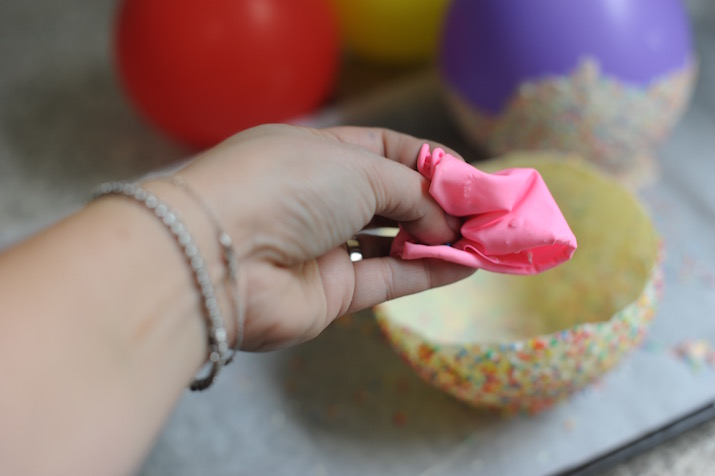
6) Allow the bowls at least an hour to set on the bench (or at least half an hour to set in the fridge) before CAREFULLY popping the balloons (I used a steak knife!) and slowwwwwwwwly peeling them away from the chocolate shell. Note that the shell, although sturdy enough to house lotsa ice cream scoops, is still fragile and delicate. Once removed from the baking paper, it is best handled by the thicker disc base, not by the rounded edges of the bowl.
7) Fill with whatever your heart desires and ENJOY!
Stores in tupperware in the fridge for up to 2 weeks.
KALI OREXI!









0 comments
leave a comment