WAGON WHEEL CHOC RIPPLE CAKE BY PHOODIE 0
May 26, 2016
Wagon Wheels.
It’s 1988 and I’m in the back of my friend’s Mum’s car.
We’re on the way to tennis lessons after a long, hot day at school.
Out come the Wagon Wheels.
Out come the smiles.
Anyone else share these memories?!
I’m sure you’re out there!
Well this recipe, my friends, is dedicated to YOU!
INGREDIENTS
- 8oo ml cream whipped
- 2 tablespoons icing sugar
- 1 teaspoon vanilla extract
- 14 mini wagon wheels (2 x 190g packets will give you 16, so eat the 2 spare!)
- 250g packet Choc Ripple biscuits (use all except 6 biscuits, eat those too!)
METHOD
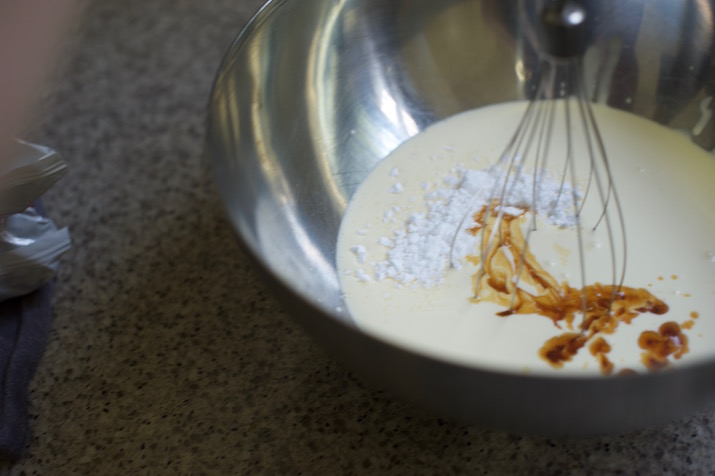
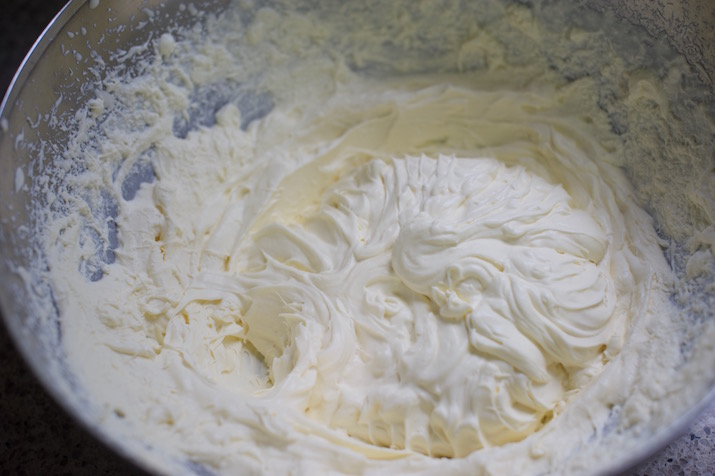
1) Add the icing sugar and vanilla to the cream and whip until stiff peaks form – set aside.
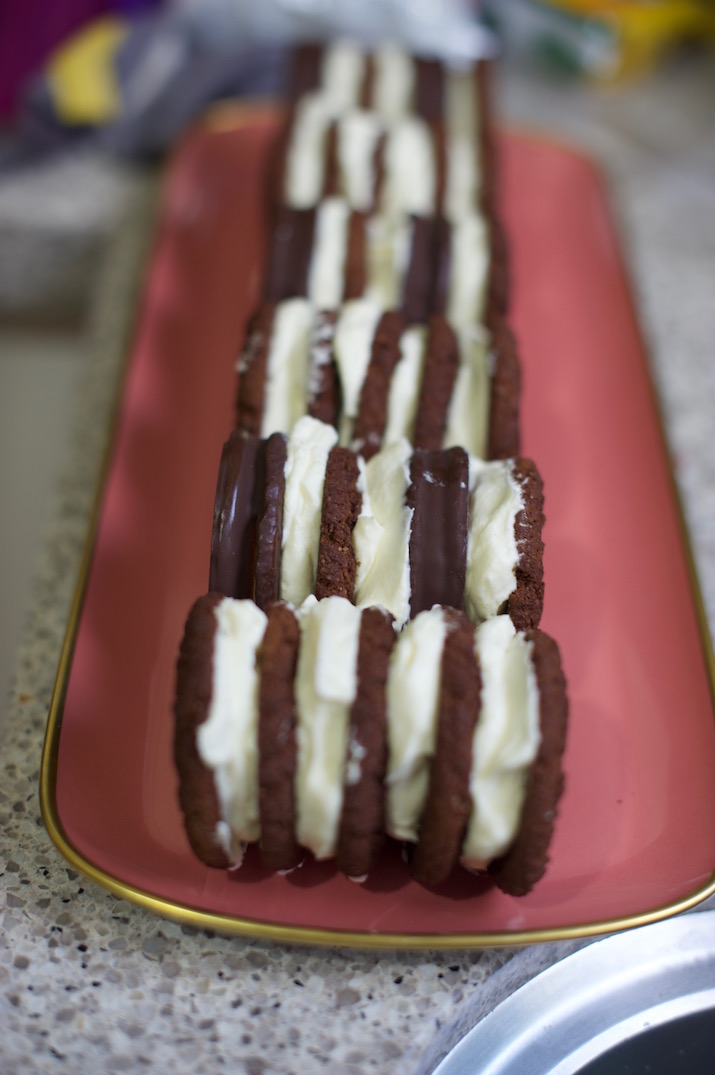
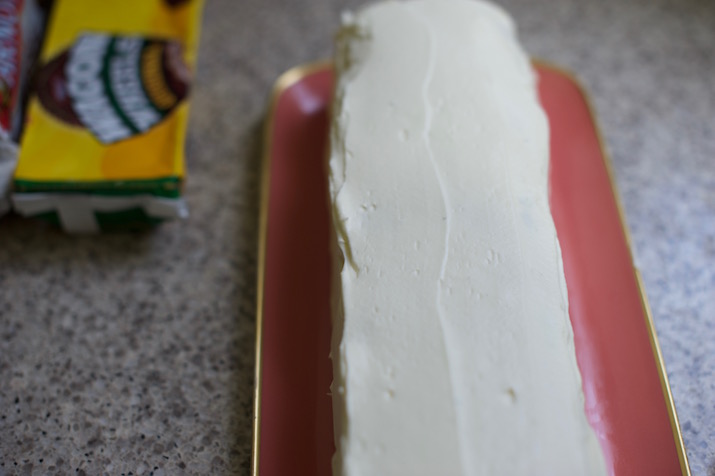
2) Spread a good dollop of cream to the base of a long, rectangular cake platter, this will act as your ‘glue.’
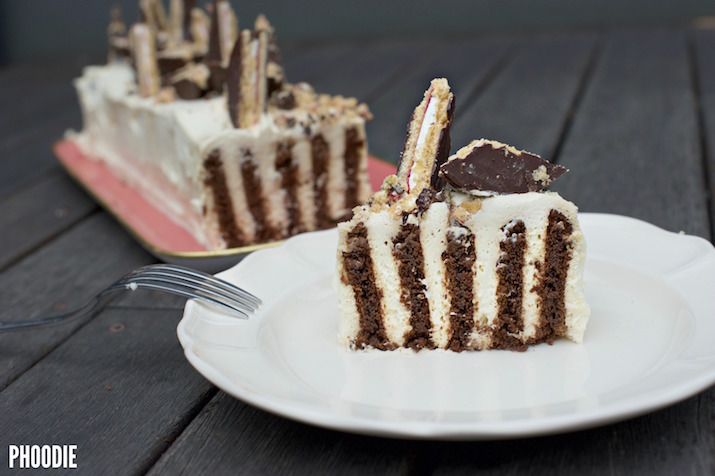
3) Now, as per the photos below, create your first row by sandwiching 4 Choc ripple biscuits, one by one, with a generous amount of cream. Stand these (again, as per the pictures below) on their side and prepare to make row 2.
4) Row 2 is created by sandwiching 2 x mini wagon wheels and 2 x Choc Ripples with cream. Make sure to alternate in this row. So the first biscuit is a choc ripple, then cream, then a wagon wheel, then cream, and then repeat.
5) Row 3 is all Choc Ripples, Row 4 is a repeat of Row 2, Row 5 is all Choc Ripples and finally, Row 6 is a repeat of Rows 2 and 4.
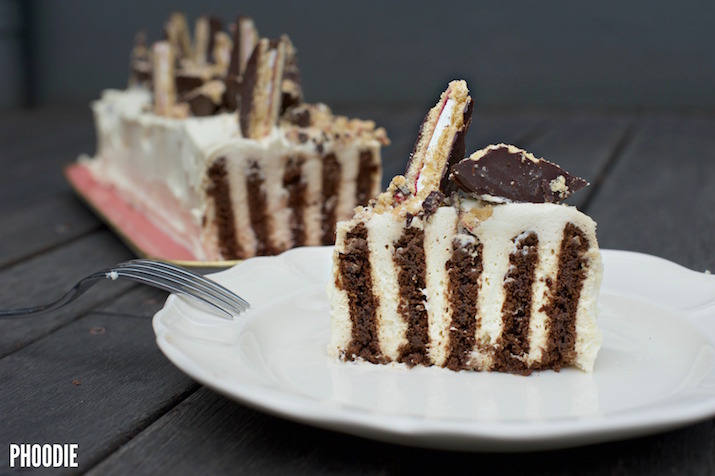
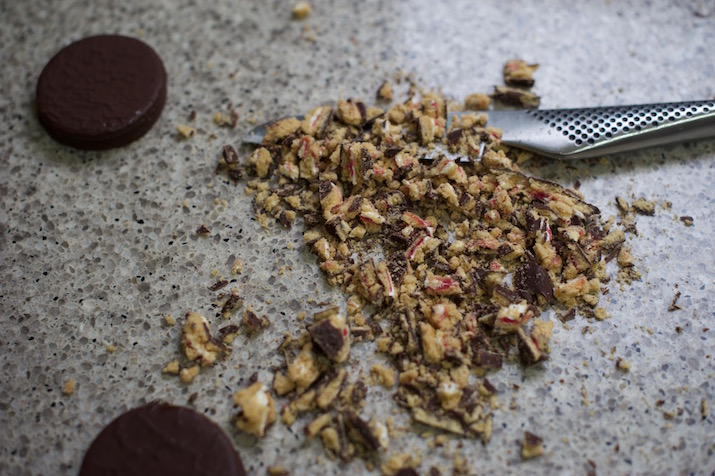
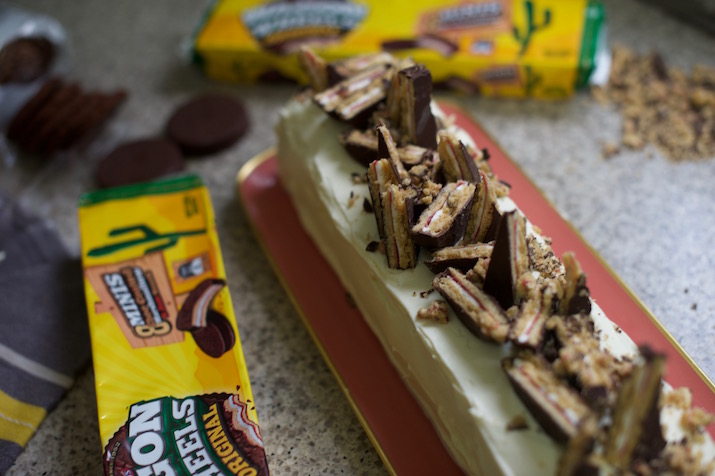
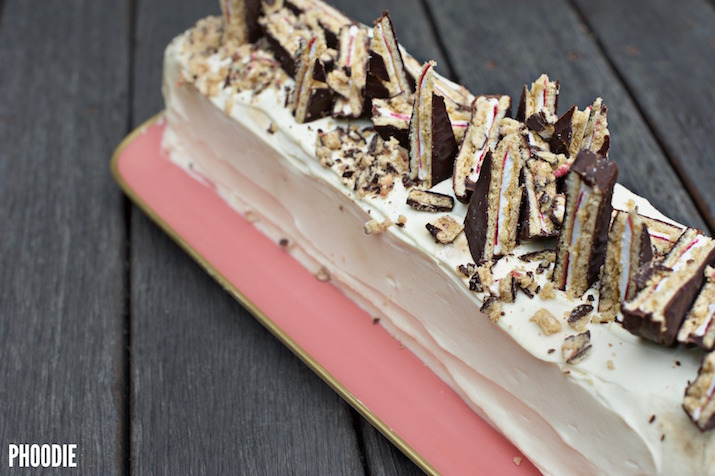
6) Once your rows are all established, cover the entire ‘cake’ generously with the remaining cream and top with your remaining wagon wheels (chopped into large random shapes)
7) Refrigerate for at least 8 hours, preferably overnight and then slice and serve!
KALI OREXI!
Note: In other similar cakes you will see that only Choc Ripples have been used, as they absorb the cream, the cake is super smooth to cut. Due to my cake incorporating Wagon Wheels you will notice that you won’t slice through them as easily. It is for this reason that I suggest serving your guests portions up using a knife AND a spoon! :)

















0 comments
leave a comment